Siegel Group LLC is...
We are a holding company for a number of different brands. Please see below for more information on brands associated with Siegel Group LLC.
Siegel Group LLC is NOT...
Affliated with "The Siegel Group" in any way. We have no affiliation with Siegel Suites and do not operate or manage commercial real estate of any kind.

Why...
What can we say, we have a lot of interests
Our varied brands have one primary thing in common, they are about serving others in whatever way our skills can provide.
Brands

NetMavens
Siegel Group LLC was founded in 2018 as a network consulting firm and re-branded these services in 2024 along with an expanded portfolio of partnerships and engineering consultants.
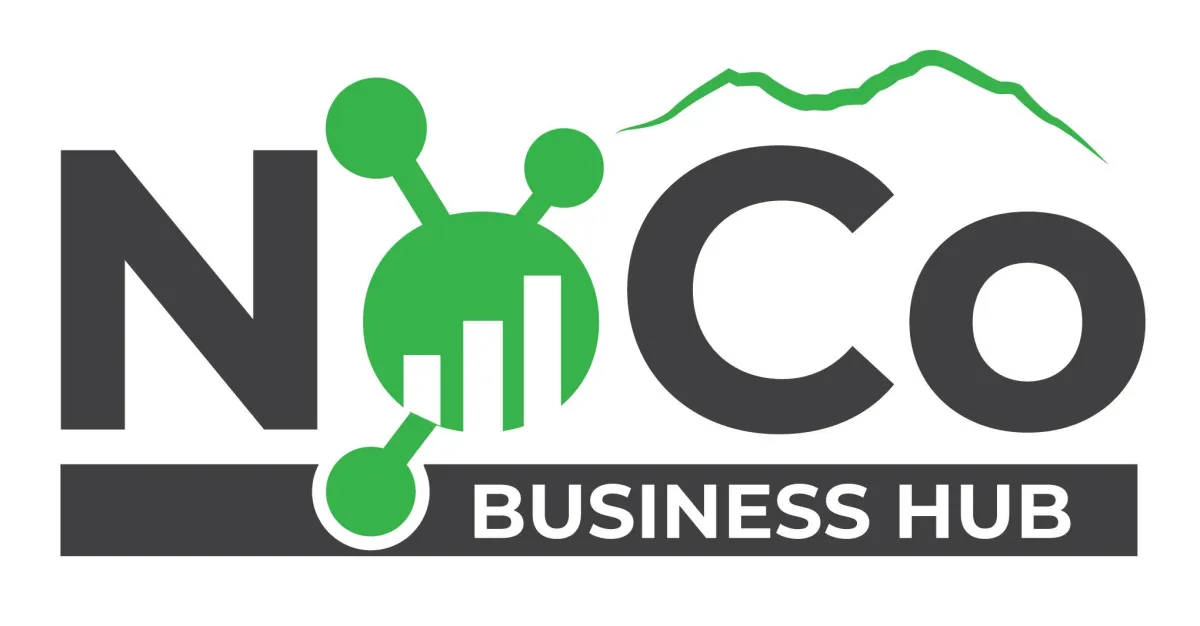
NoCo Business Hub...
...helps small businesses in Northern Colorado streamline their business by automating the marketing processes around lead conversion.

First Peoples Fashion...
...is putting on a fashion show in conjunction with the First Peoples Festival in Estes Park, Colorado in January of 2025. We hope it will be the first of many annual fashion shows showcasing indigenous fashion designers.
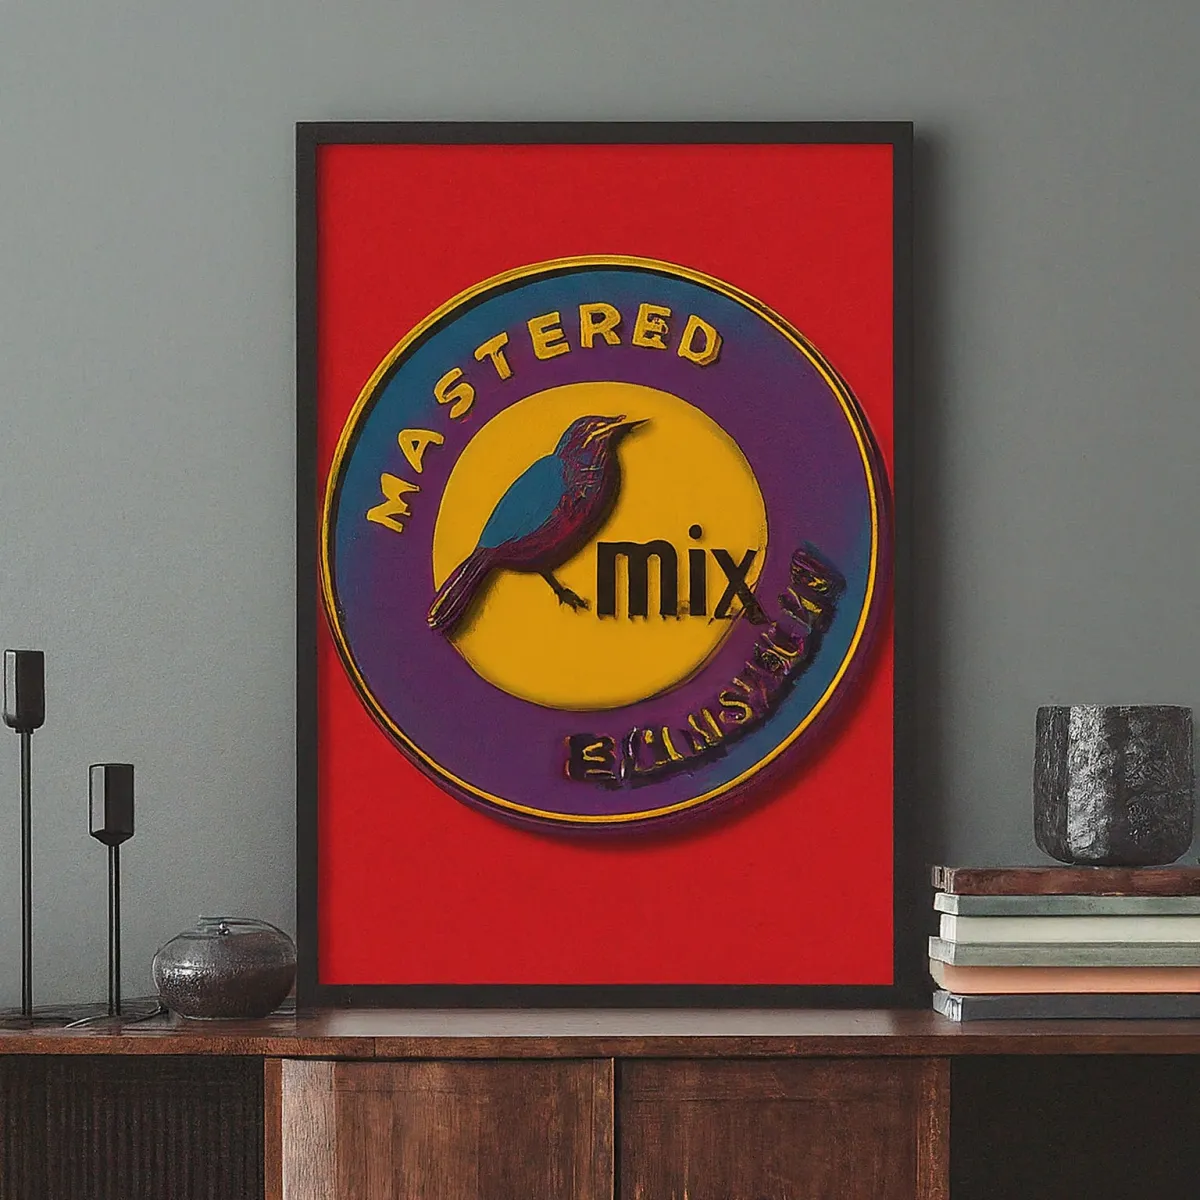
Mastered Mix...
...is a home recording studio serving residents of Estes Park and the greater Northern Colorado area. We enjoy helping local bands create a legacy for their music with quality recordings, mixing, mastering and publishing services.
Sandi Siegel Music...
...is our band. Sandi isn't currently doing any shows, but hopes get a band back together in the future and play out.
Copyright 2024 Siegel Group LLC